Techniques
The Data Clay Ceramicists are currently in the process of compiling a full suite of techniques related to the advanced fabrication of ceramics. In the mean time, let’s start with the basics and review important information to remember when making a plaster mold.
Large Molds
When working with large molds, it is good practice to make sure you have the necessary assistance to handle the mold. Whether a friend, co-creator, or both, make sure that you are able to manage the mold throughout all parts of the production process. It is good practice to keep a sufficient number of clamps and straps at hand. Furthermore, attaching handles to large molds improves handling and production.
Mold Sections
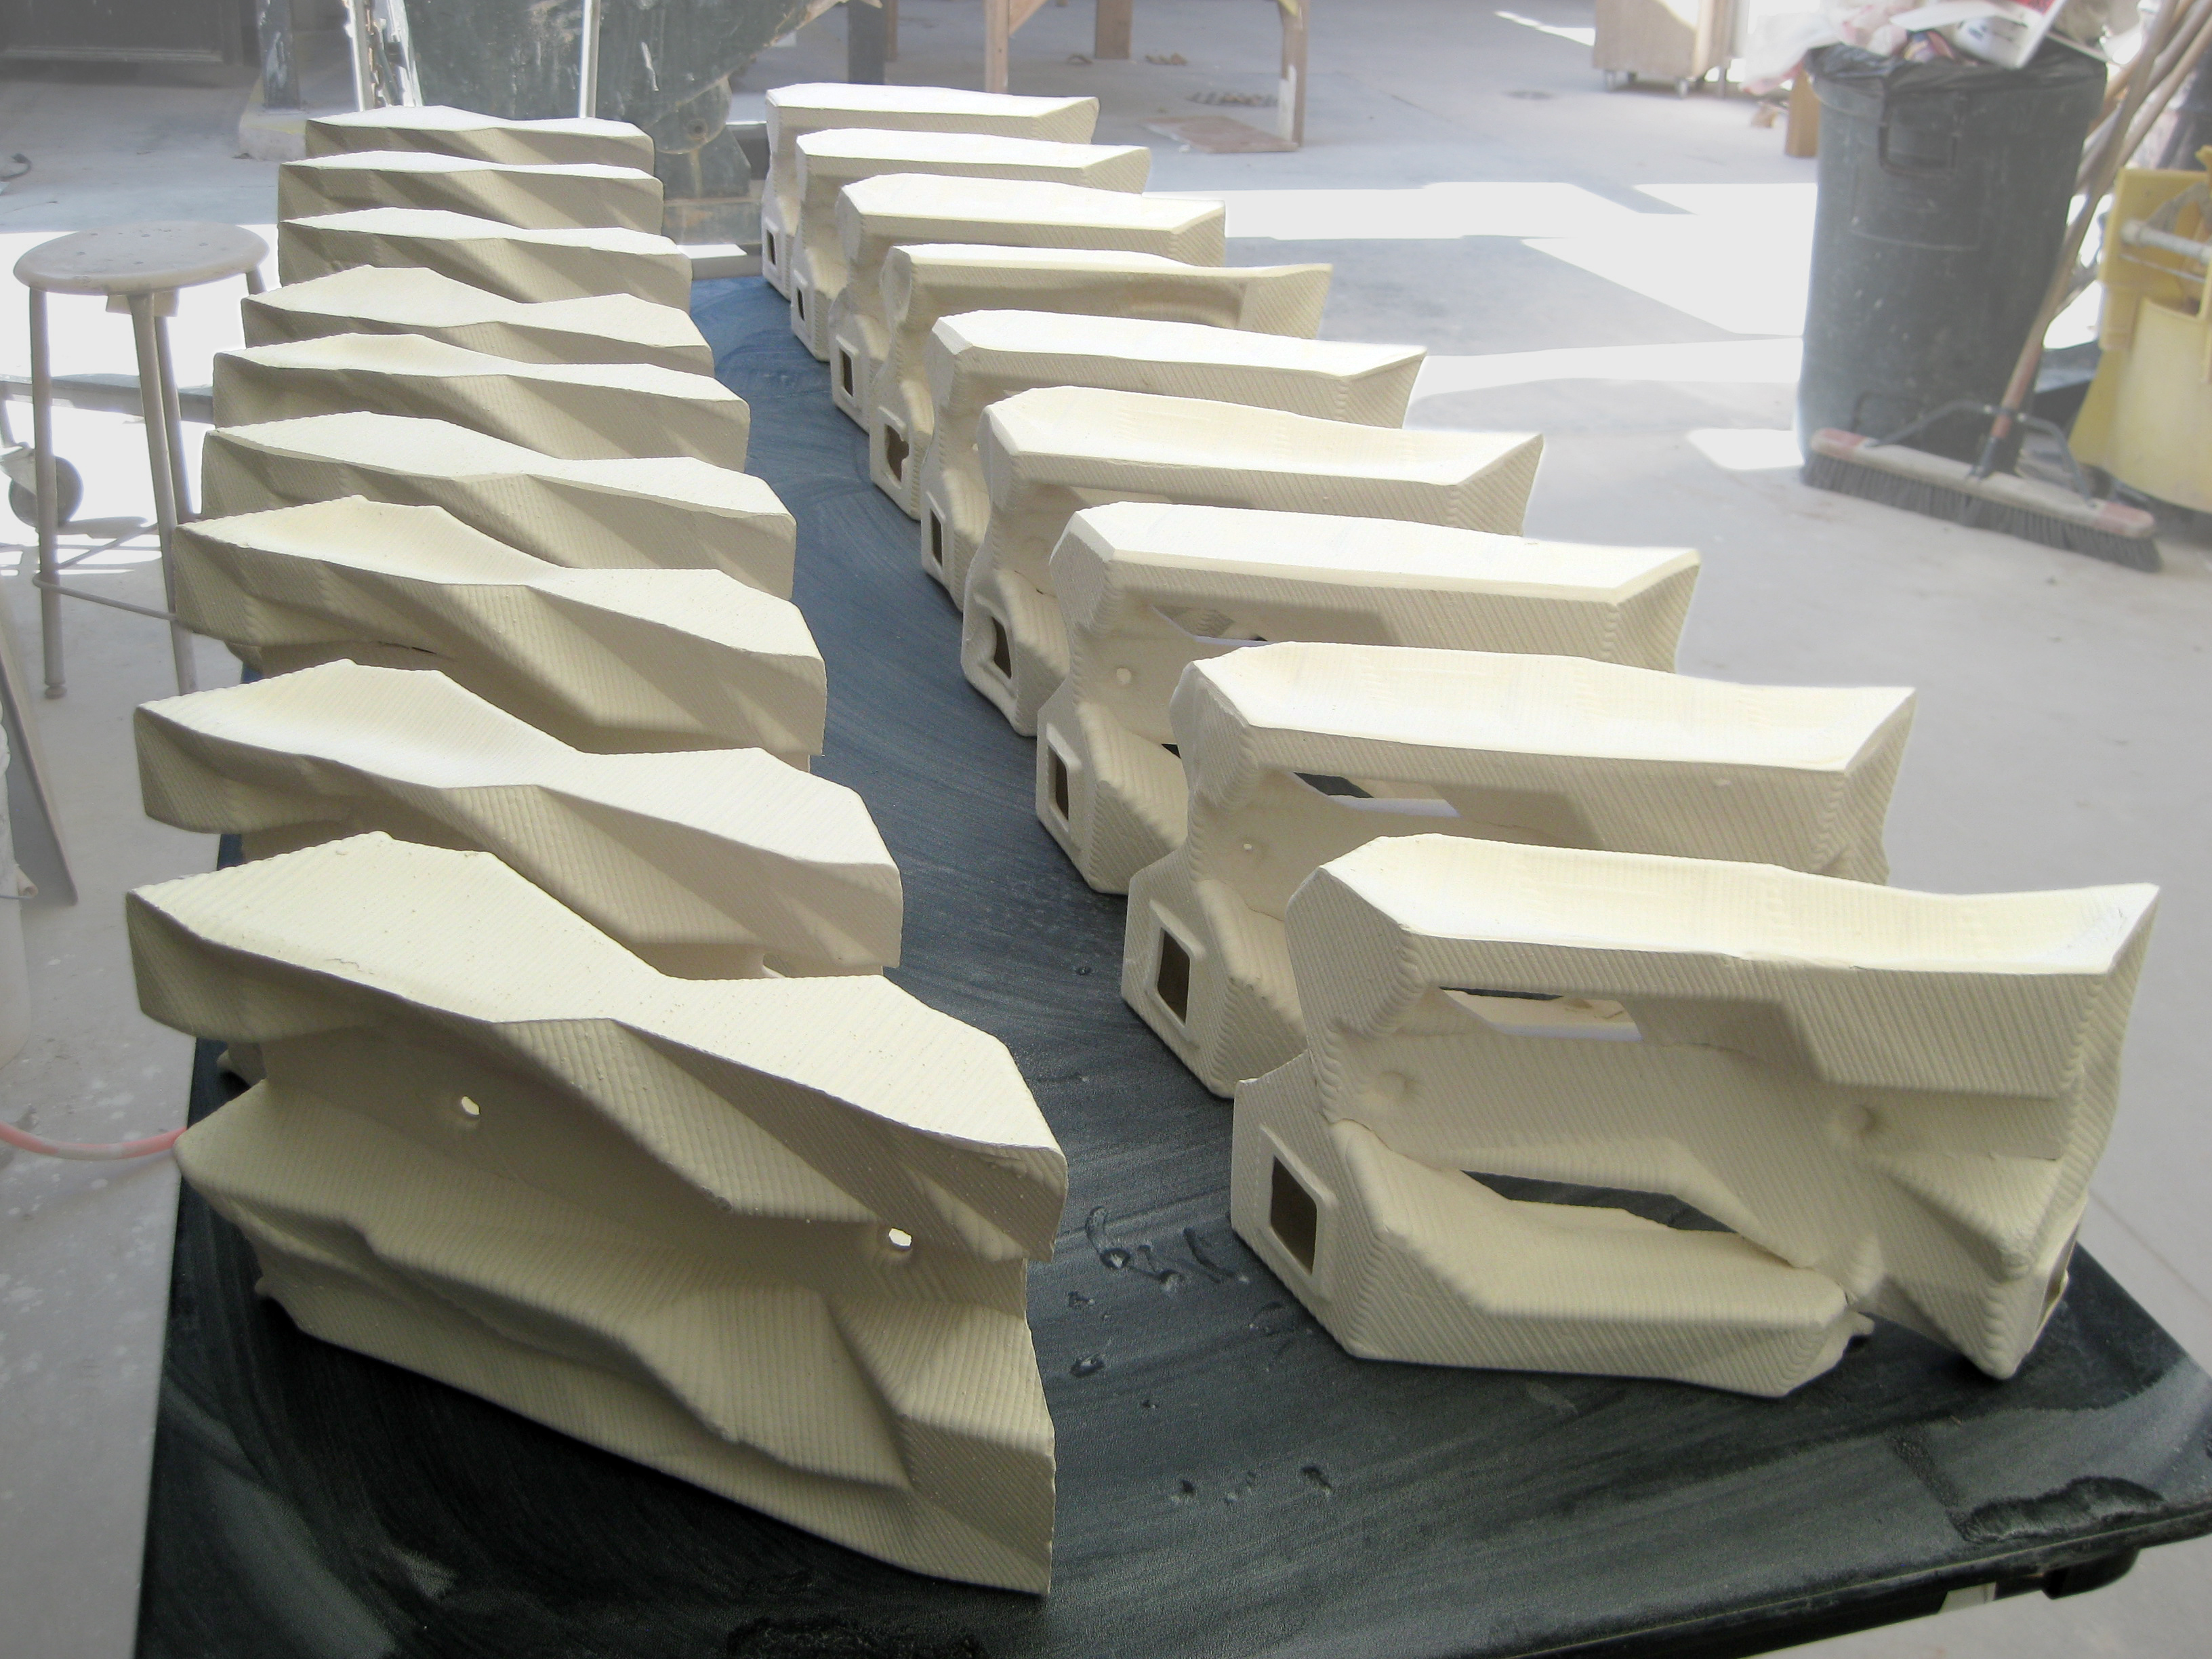
When possible position mold sections during press-molding or plemping. Remember to ask yourself if the size of the mold will allow the clay body to be applied correctly and if it will be possible for you to join sections from within. If your mold involves the use of numerous components, consider creating a case mold to hold everything together. When building case molds or strapping mold sections, work with gravity.
Take Shrinkage Into Account
Most objects will dry to 83 - 95% of their original size. If your project requires close tolerances, consider drawing plans and sections of your mold at scale, and then scaling your drawings by 83 - 95% to get a better idea of how your final piece might fit together.
Draining Casting Slip
Don't throw your back out, don't destroy your mold. When working with casting slips heavier than 60 lbs use a tilting construction or drainage system.
Parting Agent
Use a parting agent, like mold soap, to help remove mold sections without damage. When the partition walls are in place mold soap should be applied to the model and partition walls.
